Accept Payments For Your African-Based Business Using Supabase Edge Functions and Paystack
They don't call it "Stripe For Africa" for nothing 😏
What are Supabase Edge Functions?
Supabase Edge Functions refer to code that is serverless and is globally deployed. This means that the logic within the code is closer to your users and faster. The Edge Functions run Typescript on Deno.
Supabase Edge Functions are open source, free to start using, do not require any card information to use and are portable.
What is Paystack?
Paystack is a payment solution provider that focuses on making acceptance of payments from international players easier and simpler for African-based businesses.
It supports a variety of payment methods, and ready-to-go checkout pages, have excellent support and were recently acquired by Stripe.
How To Accept Payments With Paystack and Supabase
Set Up Paystack
Create an account at Paystack
In your dashboard page, scroll to settings at the bottom
Get your test Secret Key under API Keys and Webhooks
Note that your account will automatically be in test mode. If you wish to accept payments and make actual transactions, you will need to toggle that to live in the dashboard.
Set Up Supabase
Create an account at the Supabase app
Download/upgrade the Supabase CLI
Enable the Deno extension on your editor
Set Up The Edge Function
Open a new IDE window, then in the integrated terminal, you will need to:
Run
supabase loginthen runsupabase initin the same folder.Run
supabase link --project-ref your-project-refreplacing your-project-ref with your reference id which you can find under settings then general. This links up your local project to the hosted instance.Set up Deno in your IDE. This is important because supabase edge functions need deno to work. Remember to set up the Deno workpace as needed.
Create the function by running this command
supabase functions new paystackReplace the code in the supabase/functions/paystack/index.ts file with the following code snippet:
import { serve } from "https://deno.land/std@0.131.0/http/server.ts";

const corsHeaders = {
    "Access-Control-Allow-Origin": "*",
    "Access-Control-Allow-Headers":
        "authorization, Content-Type, x-client-info, apikey",
    "Content-Type": "application/json",
};

serve(
    async (req: {
        method: string;
        json: () =>
            | PromiseLike<{ email: any; amount: any }>
            | { email: any; amount: any };
    }) => {
        if (req.method === "OPTIONS") {
            return new Response("ok", { headers: corsHeaders });
        }

        try {
            const { email, amount } = await req.json();
            const resp = await fetch(
                "https://api.paystack.co/transaction/initialize/",
                {
                    method: "POST",
                    headers: {
                        authorization: `Bearer ${Deno.env.get("PAYSTACK_SK")}`,
                        "content-type": "application/json",
                    },
                    body: JSON.stringify({ email: email, amount: amount }),
                }
            );
            const paystackRes = await resp.json();

            return new Response(JSON.stringify(paystackRes), {
                headers: corsHeaders,
                status: 200,
            });
        } catch (error) {
            return new Response(JSON.stringify({ error: error.message }), {
                headers: corsHeaders,
                status: 400,
            });
        }
    }
);
In the code above, we are dealing with CORS, then calling the paystack api url -
https://api.paystack.co/transaction/initialize/- for initializing the payment.We are then destructuring the email and amount from the incoming request and passing it on to the Paystack api, along with the token it needs. We then pass the response back to the client calling our edge function. You can find the token for Paystack under settings then API in your Paystack dashboard
Since the API is a secret key. Set the secret using
supabase secrets set PAYSTACK=abc123, replacing abc123 with the actual secret key. This sets the key for production.You can now access the key via this syntax
Deno.env.get("PAYSTACK_SK").When done, deploy the function by running
supabase functions deploy paystack. The cli will give you a link to your supabase dashboard. You can find the url to your deployed function there.
Call The Function From Your Client
In this example, we will use a vanilla Javascript client to call our function. In the same folder that you have done the above create an index.html, index.js and index.css files.
Paste in html file the following markup:
<html lang="en">

<head>
  <meta charset="UTF-8" />
  <meta http-equiv="X-UA-Compatible" content="IE=edge" />
  <meta name="viewport" content="width=device-width, initial-scale=1.0" />
  <title>Document</title>
  <link rel="stylesheet" href="index.css">
</head>

<body>
  <form id="pay" method="post" onsubmit="makePayment(event)">
    <h2>Ready to checkout?</h2>

    <label for="email">Email</label>
    <input type="email" name="email" id="email" placeholder="enter a valid email" required />

    <label for="total">Total</label>
    <input type="number" name="total" id="total" value="10000" readonly />

    <button type="submit">Checkout</button>
  </form>

  <script type="text/javascript" src="index.js"></script>
</body>

</html>
The above simply sets up a simple form and includes the Javascript and CSS files.
In the Javascript file, paste the following:
const makePayment = async (event) => {
    event.preventDefault();
    const form = document.getElementById("pay");
    const data = new FormData(form);
    const email = data.get("email");
    const amount = data.get("total");

    await pay(email, amount);
};

const pay = async (email, amount) => {
    const res = await fetch("insert-your-url",
        {
            method: "POST",
            headers: {
                authorization:
                    "Bearer anonkey",
                "content-type": "application/json",
            },
            body: JSON.stringify({ email: email, amount: amount }),
        }
    );
    const getRes = await res.json();
    window.location.href = getRes.data?.authorization_url;
};
The above defines the function to be run when the form is submitted. In the pay function replace insert-your-url with the url provided by supabase edge functions. Also, replace the anonkey with your projects anonkey.
In the css file, paste the following for some simple styling:
*{
    max-width: 600px;
    margin: 0 auto;
    font-family: Verdana, Geneva, Tahoma, sans-serif;
    color: #6363a3;

}
form{
    display: flex;
    flex-direction: column;
    justify-content: start;
    gap: 4px;
    margin: 30px;
    padding: 30px;
    border: 1px solid #b3b3ef;
    border-radius: 5px;
}
input, button {
    width: 100%;
    border: 1px solid #b3b3ef;
    border-radius: 5px;
    padding: 10px;
}
label {
    width: 100%;
}
input{
    margin-bottom: 10px;
}
h2{
    margin-bottom: 40px;
}
button{
    background-color: #6363a3;
    color: white;
    cursor: pointer;
}
button:hover{
    background-color: #4c4c86;
}
::placeholder{
    opacity: 0.5;
}
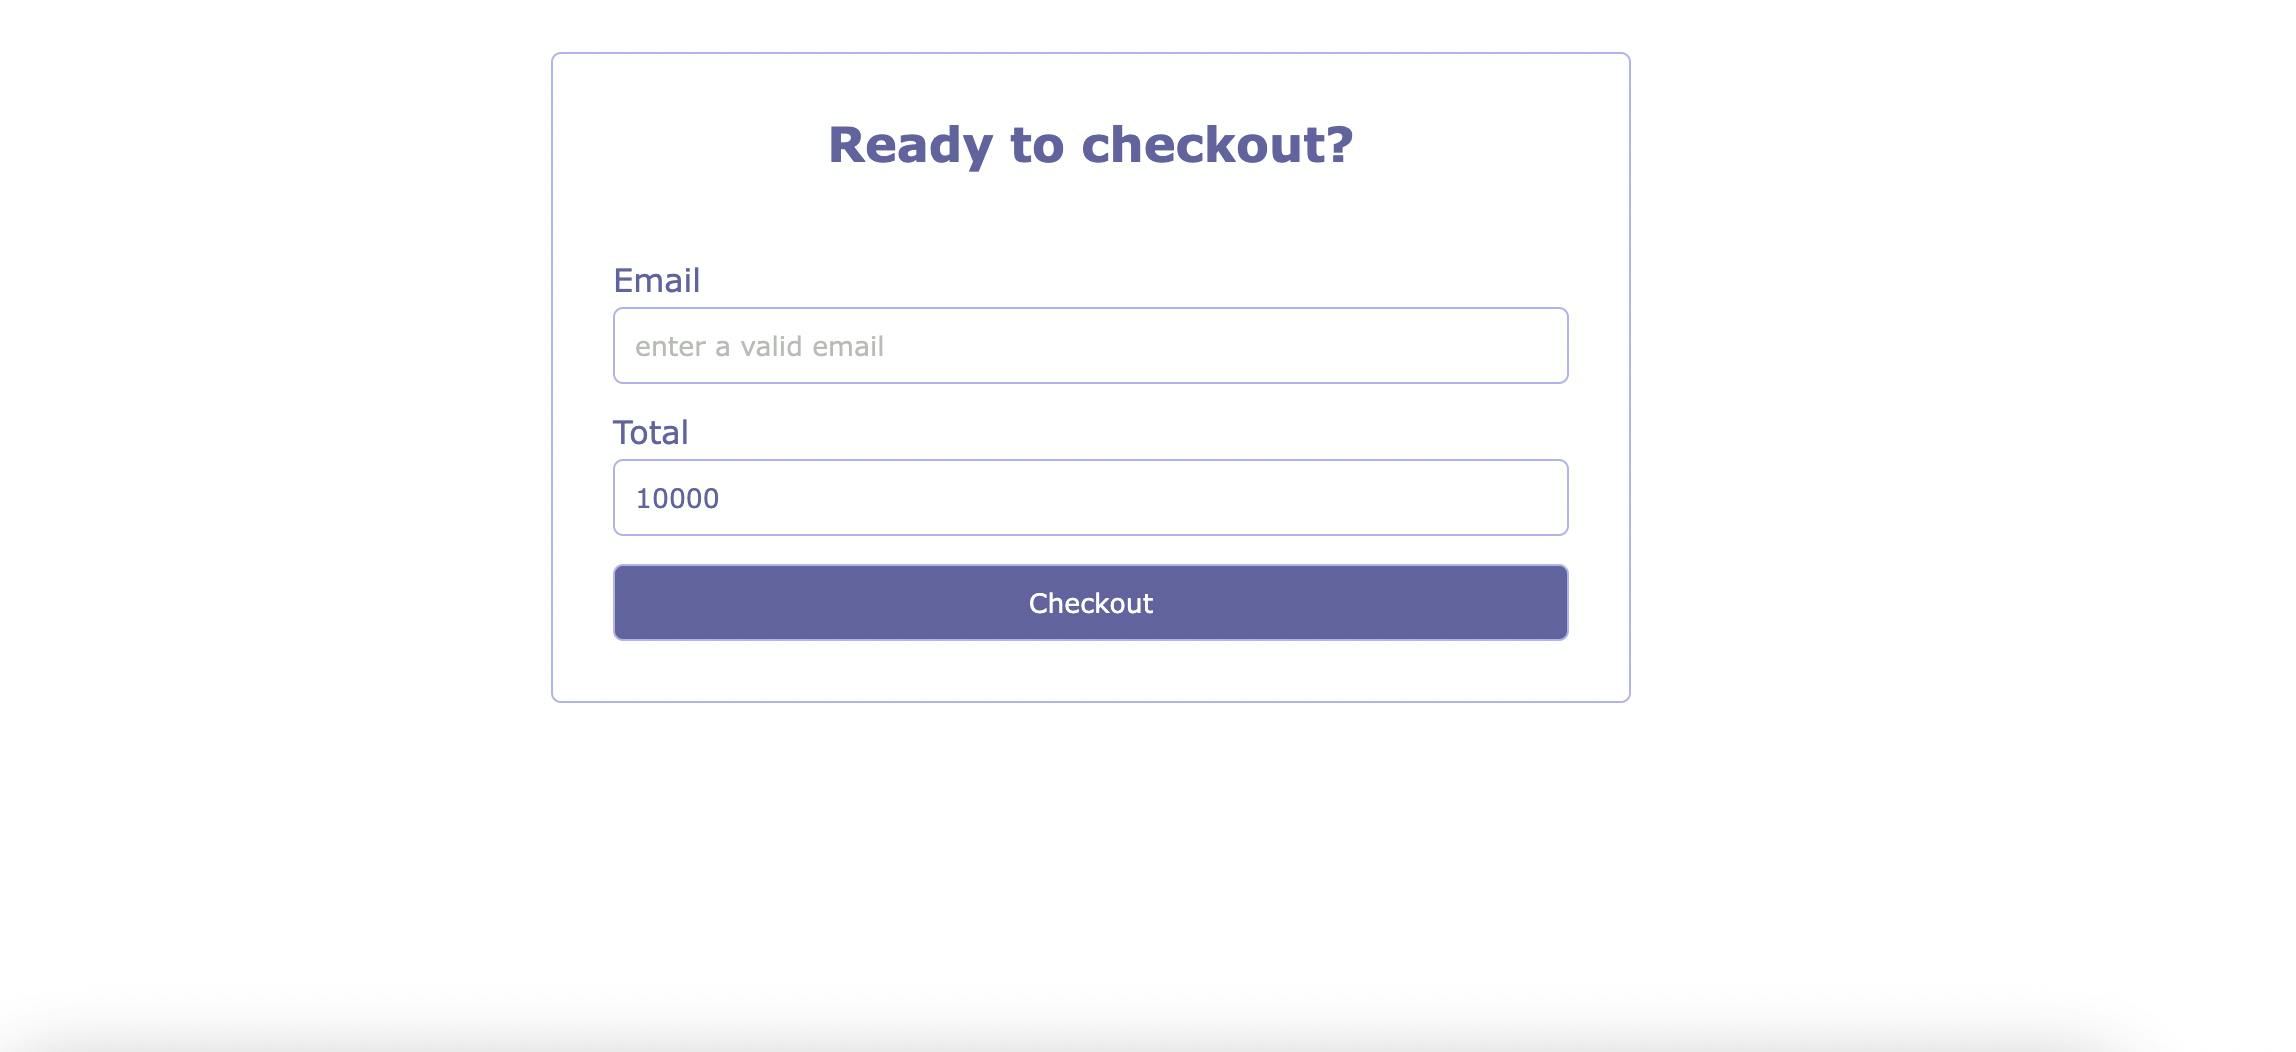
Run your html file in live server and it should look like this:

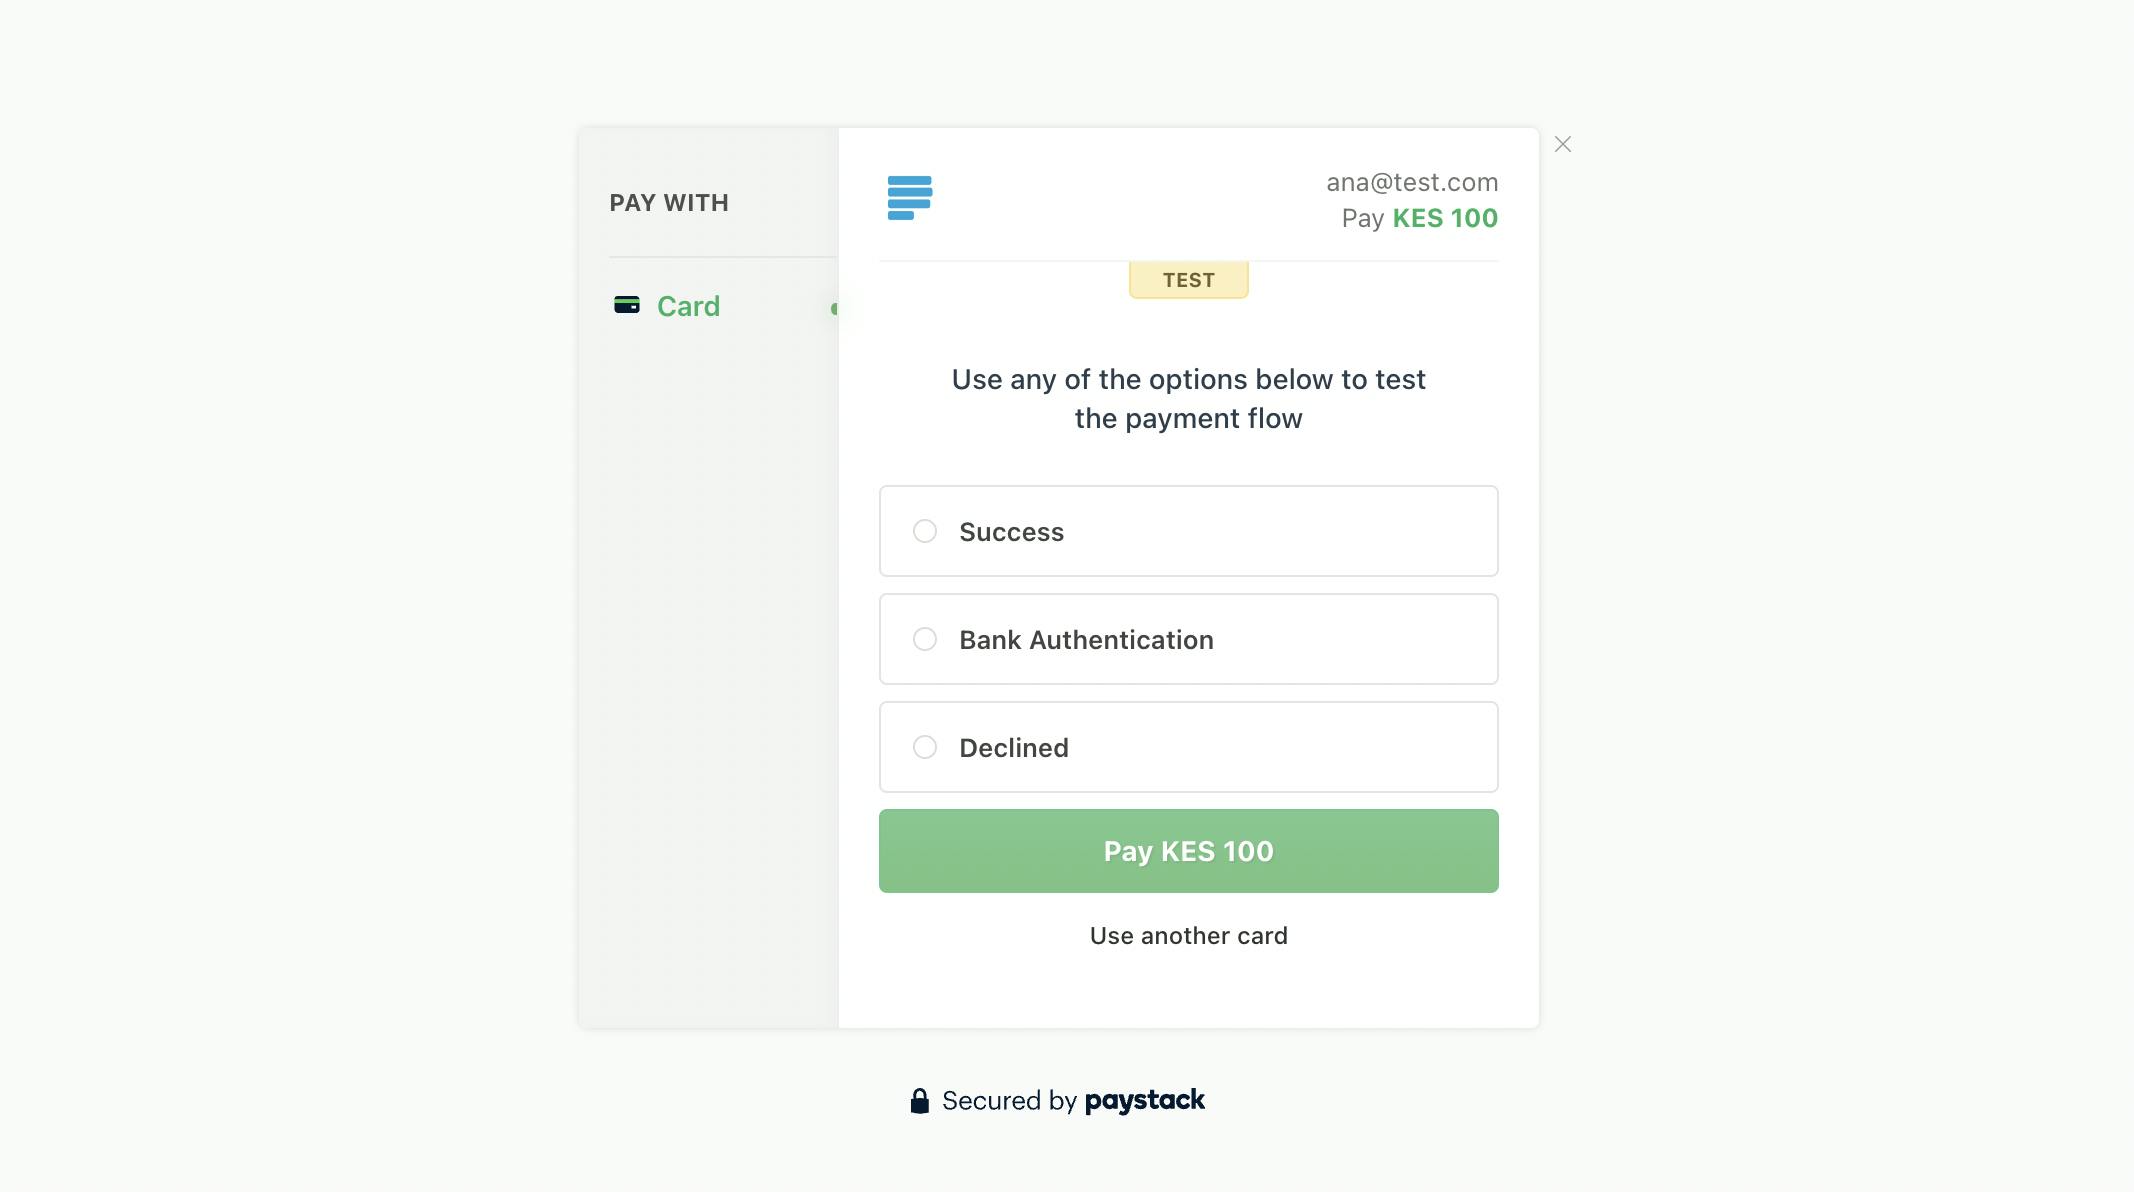
Provide a valid email and click the checkout button. You should be redirected to a page that looks like this:

The above is a test page provided by Paystack. To simulate a declined card, click on the declined radio button. To simulate a bank transfer, click the Bank authentication radio button. And to simulate a successful payment, click the Success radio button.
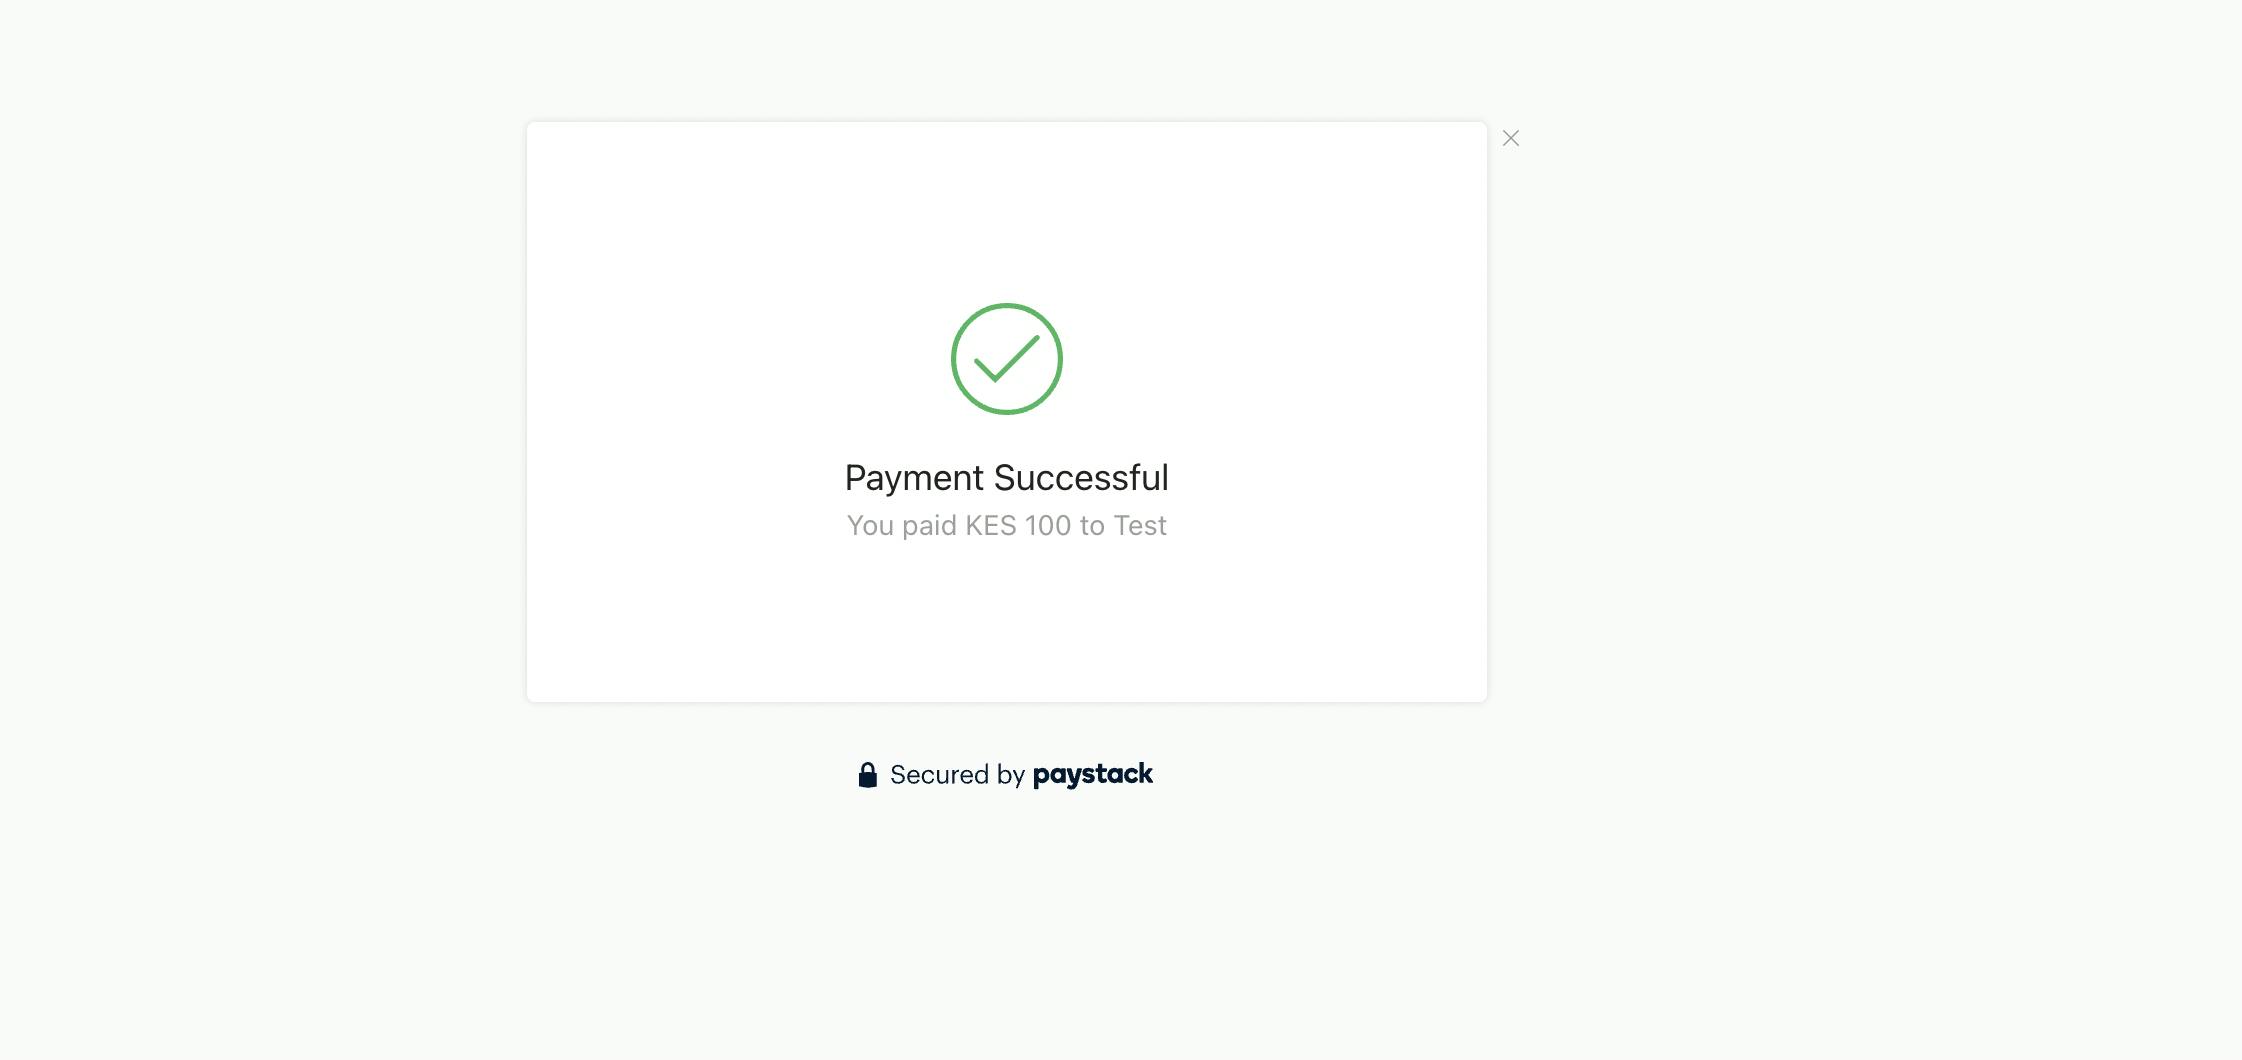
On clicking Success, the following screen should pop up:

And congratulations you have just made a succeesful test payment. You should receive an acknowledgement email from Paystack with the details. Your Paystack dashboard will also have more information on the transaction made.
Your supabase edge dashboard will also show you logs indicating that your edge function was successfully called.
Note both Paystack and Supabase have client libraries that make it easier to use their services. You don't have to use the APIs directly.
The advantage of accessing Paystack through Supabase edge functions is that it will be faster as the code will be distributed as close to your user as possible.
Additional Resources
GitHub link to this example
Join us for #SupaLaunchWeek 6
